The Four Steps to Asbestos Pipe Insulation Encapsulation
Posted by BIP on 11th Apr 2017
There are four main steps to properly encapsulating asbestos pipe insulation. This blog post will discuss each of the four steps to help complete the project in a safe manner. The overall result of a successful asbestos encapsulation project is that any potential hazardous materials are concealed and unable to cause harm in the future.
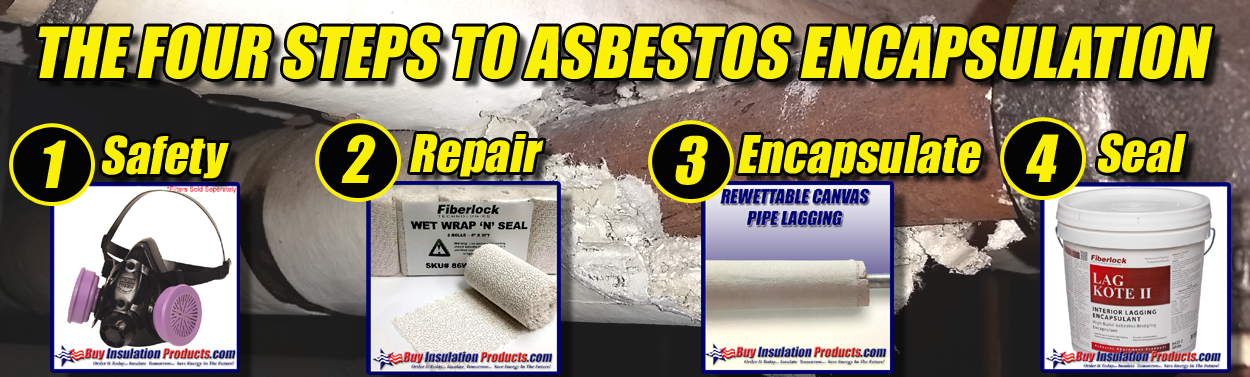
STEP 1 "SAFETY":
The most important thing while working with or near asbestos containing
materials is the safety of the worker and others in the building.
Breathing in fibers and dust from asbestos insulation is extremely
hazardous to your health and must be prevented. Precautions must be
taken to prevent exposure to hazardous fibers, which include but are not
limited to the following:
Wear a Respirator with asbestos rated HEPA filters: A well fitted respirator with asbestos rated HEPA filters is required to prevent direct exposure to breathing in loose fibers and dust.
Wear a Disposable Suit: When working with or wrapping asbestos pipes, its possible that fibers will land on your clothing. When you walk outside the work area, those fibers may be released and cause exposure to others. If you wear a disposable suit, your clothing underneath will be protected from collecting fibers and dust.
Limit Disturbance: Avoid disturbing asbestos containing insulation as much as possible as this can cause a release of fibers and dust into the area.
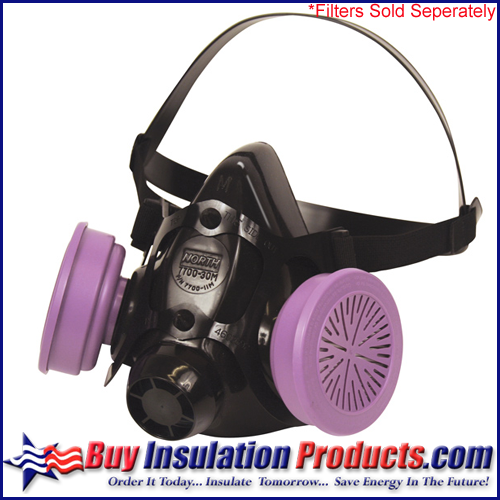
STEP 2 "REPAIR":
The repair step is not one to overlook. Crumbling and deteriorating insulation should be secured by spiraling Fiberlock Wet Wrap 'N' Seal around sections in bad condition prior to encapsulation. Wet Wrap 'N' Seal comes in 4" wide rolls that can be easily dipped in water and spiraled around the insulation multiple times. Once the wrap dries it becomes a cement like cast which will hold the insulation in place for encapsulation. Repairing and securing sections that are in poor shape will reduce the chance of unforeseen exposure when installing rewettable canvas in the next step. If there are missing sections of insulation, adding new fiberglass pipe insulation should be done now prior to encapsulation to maintain thermal efficiency.
INSTALLATION INSTRUCTIONS:
- Put room temperature water into a clean 5 gallon pail or bucket. Wet-Wrap 'N' Seal contains a plaster of paris and synthetic resin combination. Use of skin protection or gloves is recommended.
- Hold loosely and submerge one Wet-Wrap ‘N’ Seal roll at a time into the water bucket for 5 seconds. Keep thumb under edge of Wet-Wrap ‘N’ Seal to avoid difficulty in finding starting end after squeezing.
- Remove and squeeze with twisting motion to wring out excess water, keeping thumbs under starting end.
- When applying overlap each layer by 50%. Smooth each overlap turn of Wet-Wrap ‘N’ Seal into the layers below, molding carefully to the contour, forming a solid, well-fused covering.
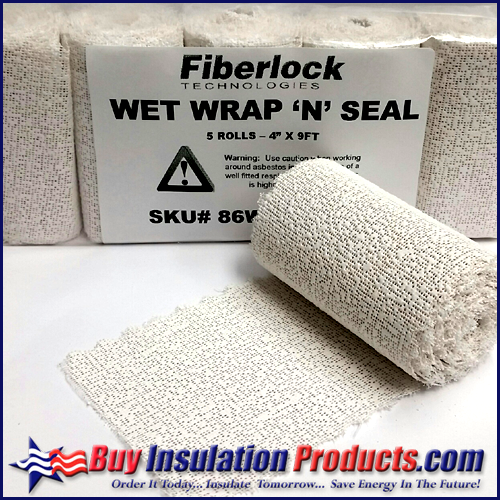
STEP 3 "ENCAPSULATE":
Once all the asbestos pipe insulation is repaired and any bare pipe as reinsulated, wrap the insulation with Rewettable Canvas Pipe Lagging. The lagging canvas is made out of fiberglass cross woven thread that is
embedded with an inorganic rewettable coating. Once moistened, the
rewettable coating becomes sticky and hardens once it dries.
INSTALLATION INSTRUCTIONS:
- Measurement: Measure the outside circumference of the pipe insulation to be concealed to figure out how many yards of material to order. We recommend that the 60" length be used to cut 3ft long strips rather than have 60" long strips which are harder to install (we recommend an seam overlap of 3"-6" depending on pipe size.)
- Activation: The rewettable cloth coating is activated by water and hardens once dry to a cast like barrier.
- Dip Method: Dip the Rewettable Canvas in water (bathtub, pail, etc) and allow excess water to drip off before application. (similar to wallpaper)
- Spray Method: Spray both sides of Rewettable Canvas with a spray bottle until completely wet.
- Application: Wrap the moist Rewettable Canvas around the pipe with the overlapping seam facing downwards on the upper part of the pipe. Allow a 3"-6" seam overlap along with a 3"-6" joint overlap between two sections. (gloves are recommended)
- Dry Period: Allow 12-24 hours to fully cure, we recommend waiting 48 hours before coating with Fiberlock Lag-Kote II Asbestos Encapsulant
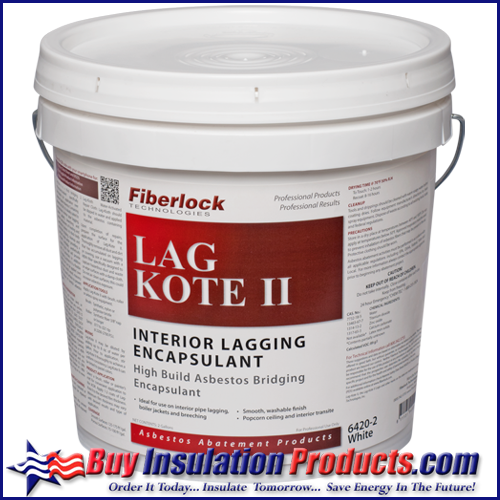
STEP 4 "SEAL":
After the Rewettable Canvas Pipe Lagging has fully dried, it can be sealed with Fiberlock Lag Kote II which is a secondary barrier. Fiberlock Lag-Kote II is a thick bridging encapsulant/sealant specifically formulated for application over interior friable Asbestos Containing Material
(ACM). Its thick body minimizes dripping, cleanup, and product waste while providing a smooth, washable, aesthetically superior finish that
will provide years of protection.
INSTALLATION INSTRUCTIONS:
After installing Rewettable Canvas over asbestos pipe insulation, please allow at least 48 hours for canvas to fully dry out and cure. Use a brush or roller to coat all sides of the rewettable canvas to make an additional barrier to prevent asbestos fibers from entering the air. An optional second coat may be applied after allowing first coating to dry (approx 8-16 hours).
Once all four steps have been completed, the asbestos insulation will be sealed beneath the encapsulating materials which will prevent possible exposure.
MOST RECENT BLOG POSTS
-How To Install Pipe Insulation Support Pegs
-Fiberglass Pipe Insulation Accessory Items You May Need
-Owens Corning ASJ Max Pipe Insulation Code Compliance
-Fiberlock Lag Kote II Asbestos Encapsulating Sealant
-No-Frame Fiberglass Edge Coating for Frameless Acoustical Panels
-Fiberglass Pipe Insulation Install Saves Big Dollars