How to Use the Green Glue Noiseproofing Compound Pail Applicator Gun
Posted by BIP on 11th Jul 2017
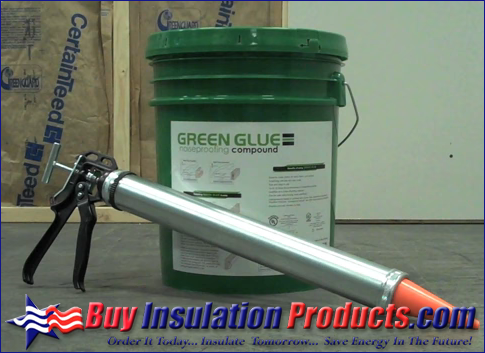
Green Glue Noiseproofing Compound is available in both 28 ounce tube cartridges and 5 gallon pails. Deciding to use pails or tubes depends on the size and type of soundproofing project. Tubes are perfect for smaller residential projects which are under approximately 800 square feet. Once a project is larger than 4+ cases of tubes, its highly recommended to use Green Glue pails. Green Glue in 5 gallon pails will reduce the cost of material by approximately 30% along with cutting the application time as well. This guide will explain how to properly use the Green Glue Pail Applicator Gun.
Prepare
Green Glue Applicator
Gun for Use
Each applicator gun comes with three plastic nozzle cones. Screw the nozzle ring off of the front of the caulk applicator gun barrel and place one of the dispensing cones inside the ring and reattach. Cut the tip of the cone to create a 1/2"
opening. Nozzles cut too small will increase loading
and dispensing time.
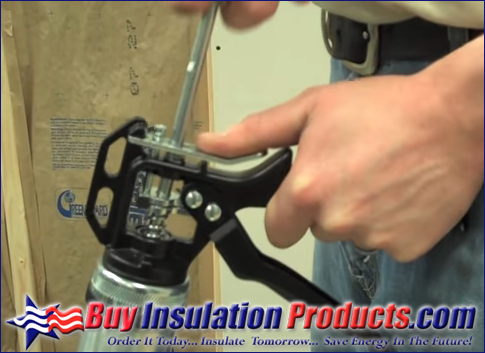
Lubricate
Green Glue Applicator Gun
If
the
plunger is tight when the rod is pulled back
, you
should lubricate the barrel. Spray lubricant (WD-40) on the
inside of the barrel chamber while you have the gun
pointing upward to prevent dripping. While pressing
the rod recoil button, pull the plunger rod all the way
into the full position and then back again.
|
|
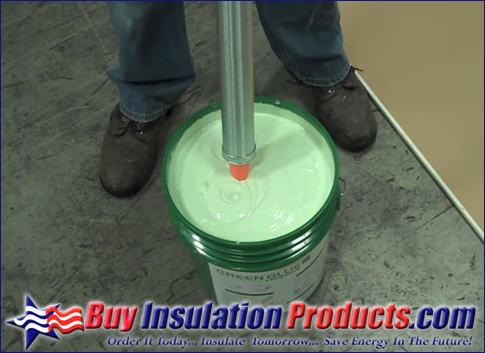
Load Green Glue Applicator Gun
While holding the caulk applicator gun with one hand, dip the orange cone into the pail of Green Glue. With your other hand pull back on the plunger rod while pressing the rod recoil button with your thumb. Pull the rod as far back as allowed while keeping the cone under the surface of the Green Glue.
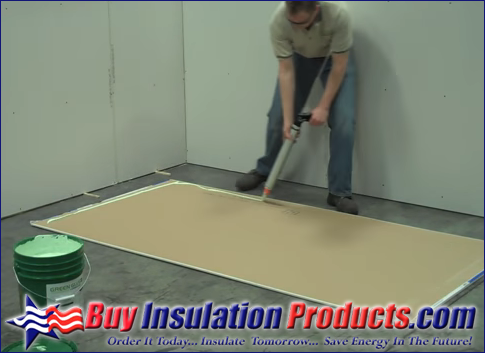
Dispense Green Glue
Once the Green Glue Applicator is full, the Green Glue
can now be dispensed by simply pulling the trigger.
Make sure to go around the perimeter of the drywall
allowing a 2" space. This prevents Green Glue from
seeping through the drywall joints.
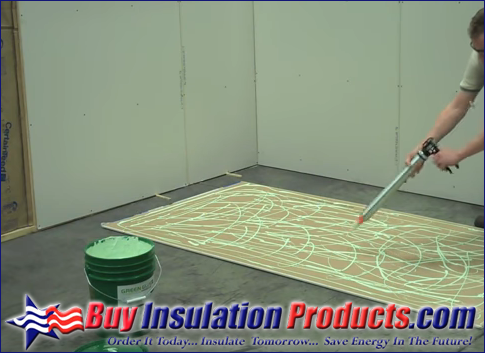
Make Random Pattern
Apply 2 dispensers worth of Green Glue to each 4' x 8'
sheet of drywall. The pattern can be random however
try your best to provide full coverage over the entire
sheet. No need to be fancy, just make sure all parts of the sheet are covered.
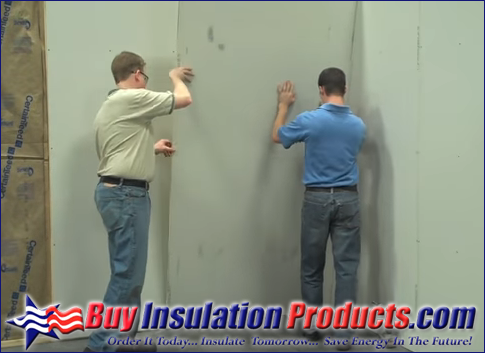
Fasten 2nd Layer of Drywall
Within 15 minutes of dispensing Green Glue onto the
drywall, screw the drywall into the first layer making
sure to stagger the joints of both layers. Caulk all
wall, floor, and ceiling joints with acoustical caulk
Clean Applicator with Soap & Warm Water
Immediately after use, clean the Green Glue
Applicator Gun with soap and warm water. The
barrel and plunger can be detached to make
cleaning easier.
DOWNLOAD GREEN GLUE PAIL APPLICATOR GUN INSTRUCTION SHEET

MOST RECENT BLOG POSTS
-How to Properly Sounproof Seal a Ceiling / Wall Joint
-Fab Strap Seal Crimping Tool
-Soundproofing Project Reasonable Expectations and STC Rating Definitions
-Four Steps to Asbestos Pipe Insulation Encapsulation
-Fiberglass Pipe Insulation Accessory Items You May Need
-Owens Corning ASJ Max Pipe Insulation Code Compliance
-Fiberlock Lag Kote II Asbestos Encapsulating Sealant
-No-Frame Fiberglass Edge Coating for Frameless Acoustical Panels
-Fiberglass Pipe Insulation Install Saves Big Dollars